Photo 1 of How the West Was Won

Double tap image to zoom
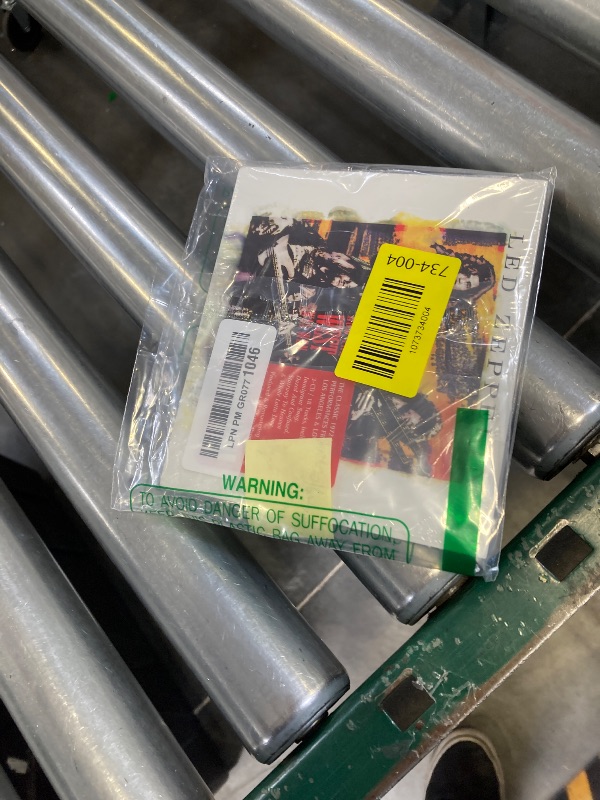
Photo 1 of How the West Was WonPhoto 2 of How the West Was Won