Photo 1 of Battery replacement

Double tap image to zoom
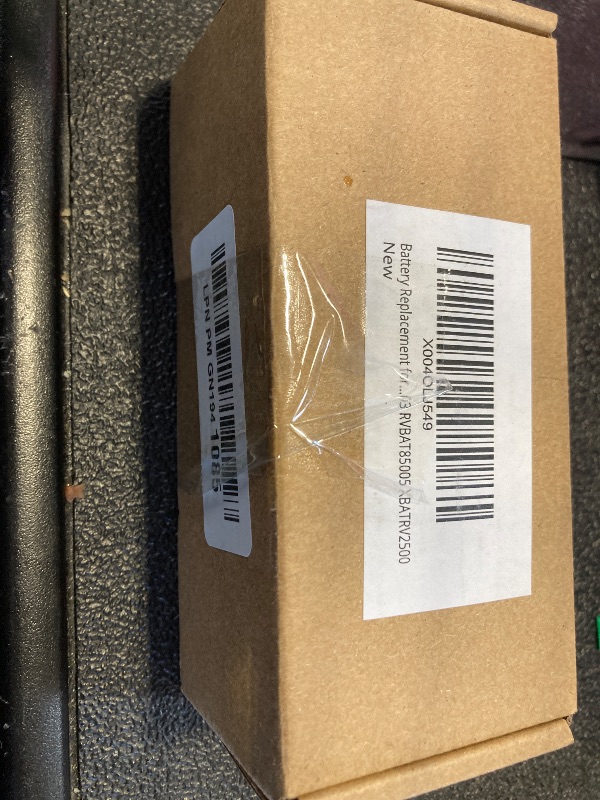
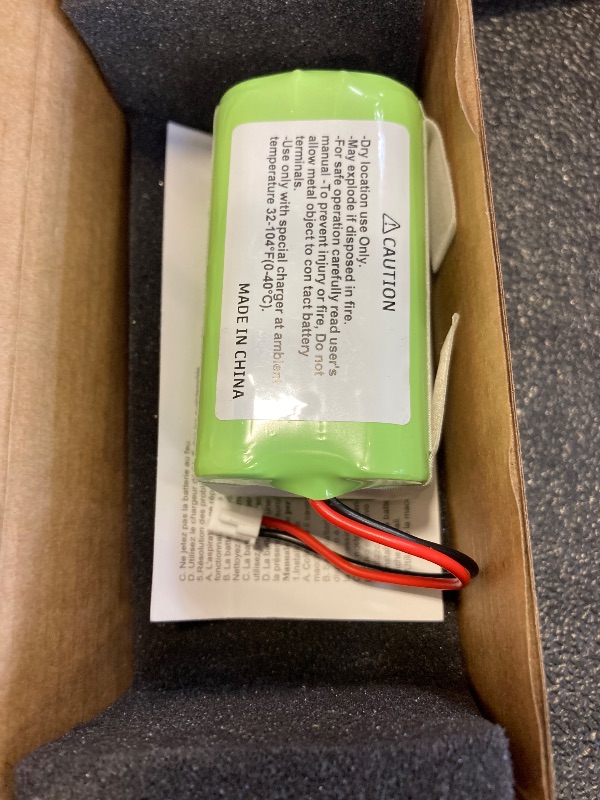
Photo 1 of Battery replacement Photo 2 of Battery replacement