View 2 of 1/12 Twelve's War: Mora

Double tap image to zoom
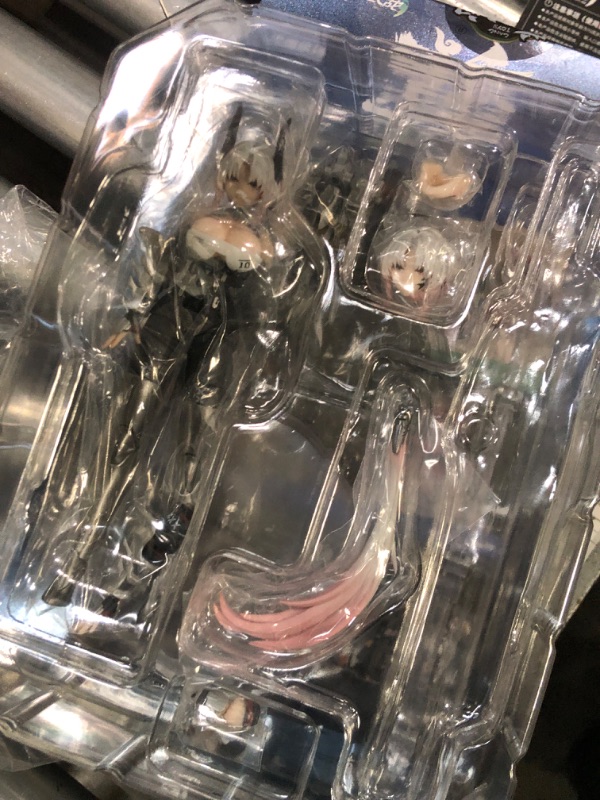
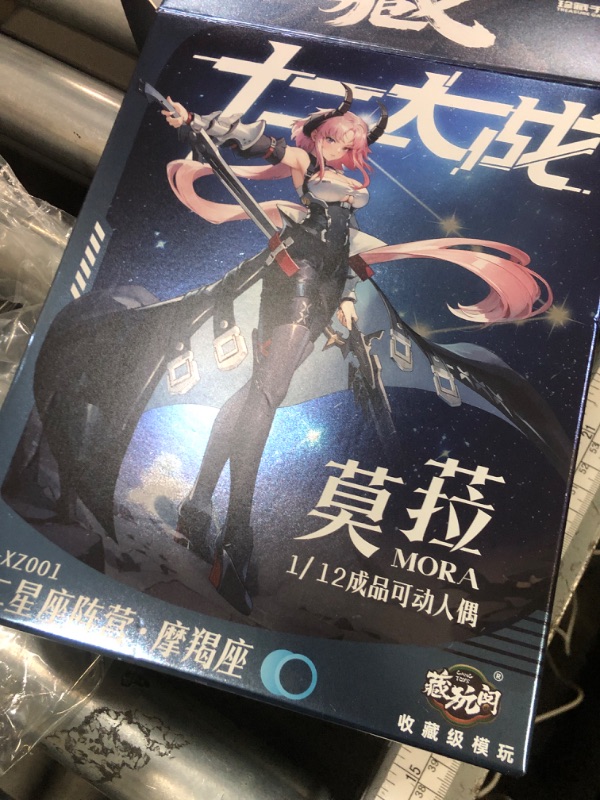
View 1 of 1/12 Twelve's War: MoraView 2 of 1/12 Twelve's War: MoraView 3 of 1/12 Twelve's War: Mora